|
|
|
|
 11-28-2016, 04:08 PM
|
#1 |
|
Senior Member
Join Date: Mar 2002
Location: NS CANADA
Posts: 902
Likes: 1,722
Liked 405 Times in 158 Posts
|
Beautiful job Bill. I saw the first pic of it (and with my body skills would of left it as is lol) and then I saw the pic of it torn down to nothing and felt ill. At that point I was "aww what a shame, it was a good car" but you're actually building it back up again, unbelievable.
You certainly have my respect as I can't fathom going that far into a car, if I did I would still have my 71, 72 and 73 fastback mustangs. Great to see an old mustang being reborn! |

|

|
|
12-10-2016, 11:20 AM
|
#2 |
|
Member

Join Date: Dec 2013
Posts: 311
Likes: 2
Liked 9 Times in 8 Posts
|
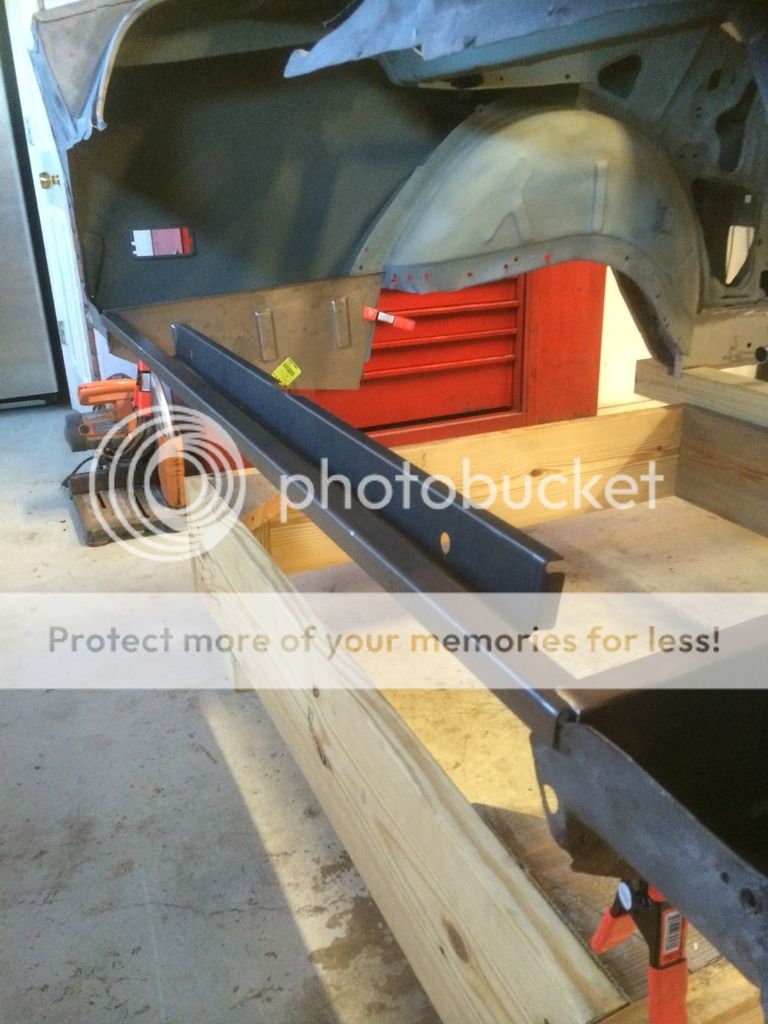
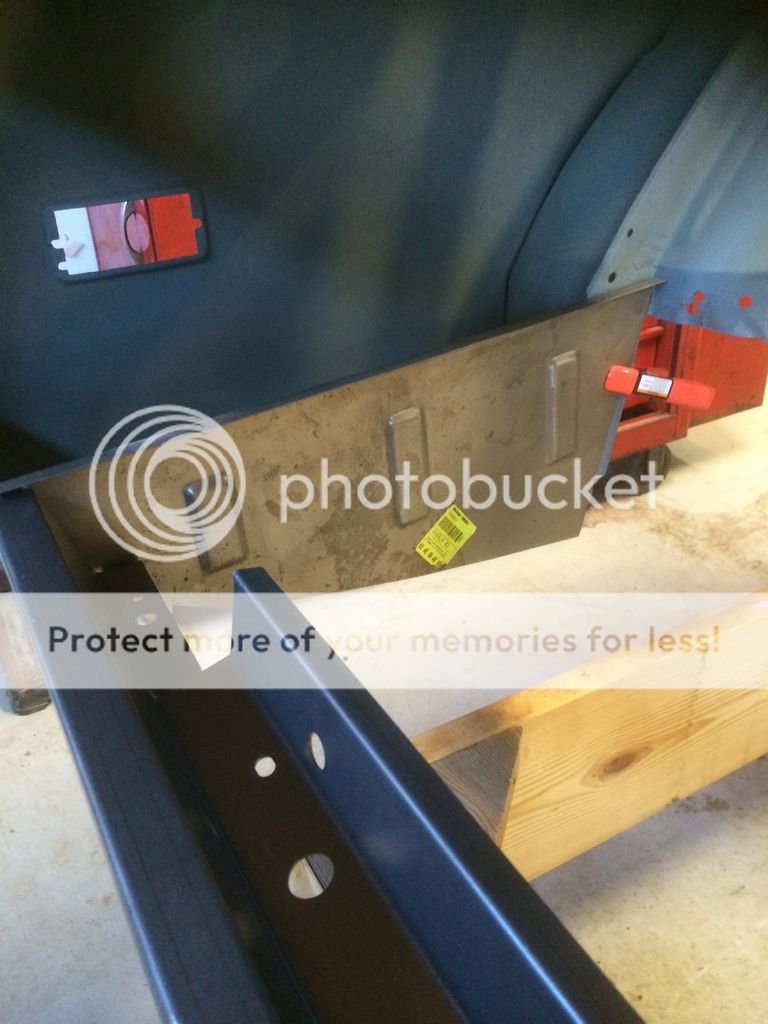
to the rear...crossmember from NPD is made in USA, there is no doubt the quality is top notch, I am impressed, yes.... its just a bent piece of sheetmetal but...
__________________
__________________ Bill Diehl B200 C/D STK Last edited by Bill Diehl; 12-10-2016 at 11:24 AM. |
|
|
|
|
12-10-2016, 09:33 PM
|
#3 |
|
Member
Join Date: Dec 2013
Posts: 311
Likes: 2
Liked 9 Times in 8 Posts
|
Start of the 25.5C floor/cage construction or subframe connectors/rear crossmember.
Bar 1 (cossmember) is 1-5/8 x .083 CM Bars 2A and 2B are 1-1/2 x .065 CM 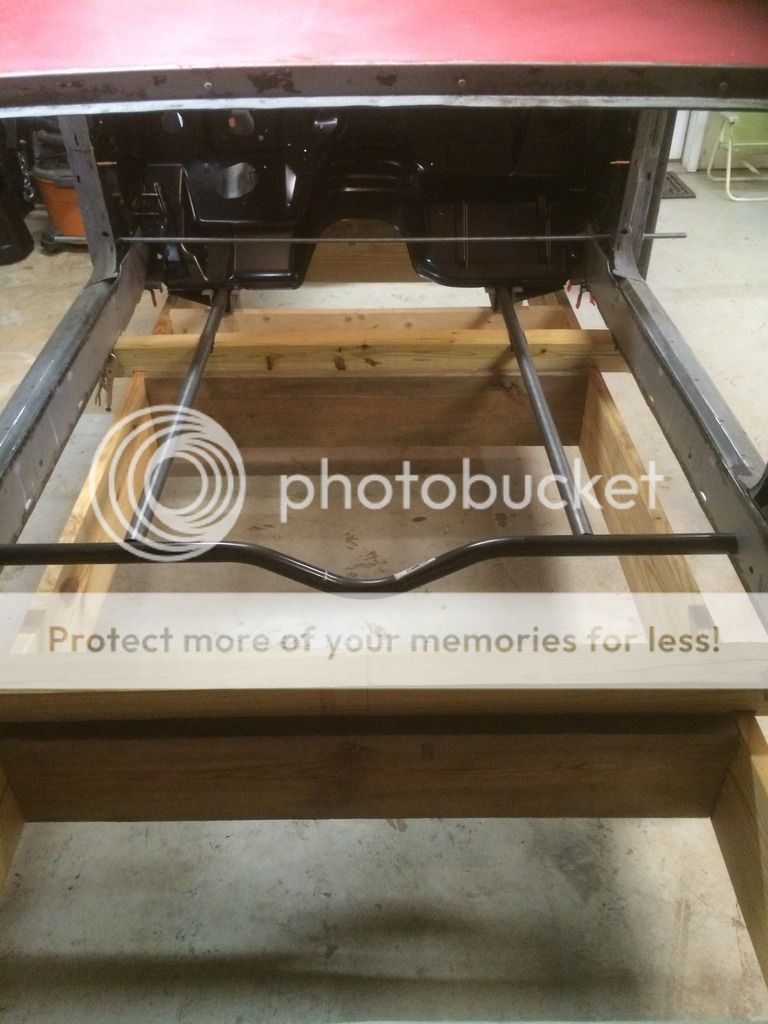
__________________
__________________ Bill Diehl B200 C/D STK Last edited by Bill Diehl; 12-10-2016 at 09:37 PM. |
|
|
|
|
12-11-2016, 08:53 PM
|
#4 |
|
Member
Join Date: Dec 2013
Posts: 311
Likes: 2
Liked 9 Times in 8 Posts
|
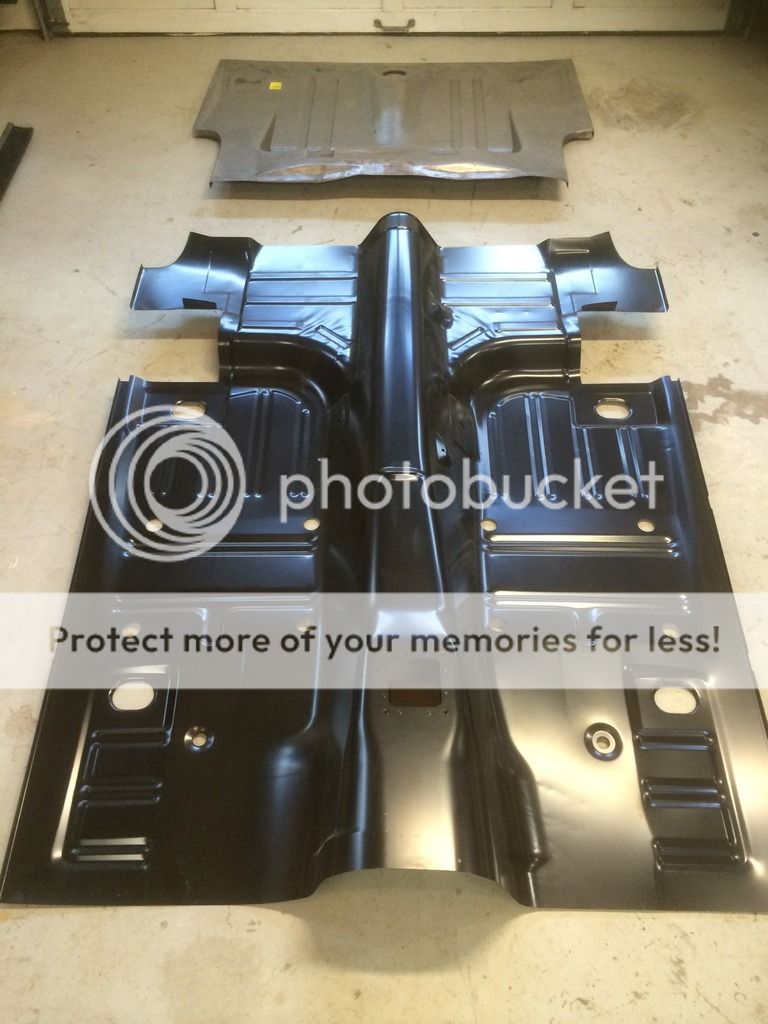
Transition pan w/ shock crossmember, and trunk pan
__________________
__________________ Bill Diehl B200 C/D STK |
|
|
|
|
12-12-2016, 10:08 AM
|
#5 |
|
Member
Join Date: Dec 2013
Posts: 311
Likes: 2
Liked 9 Times in 8 Posts
|
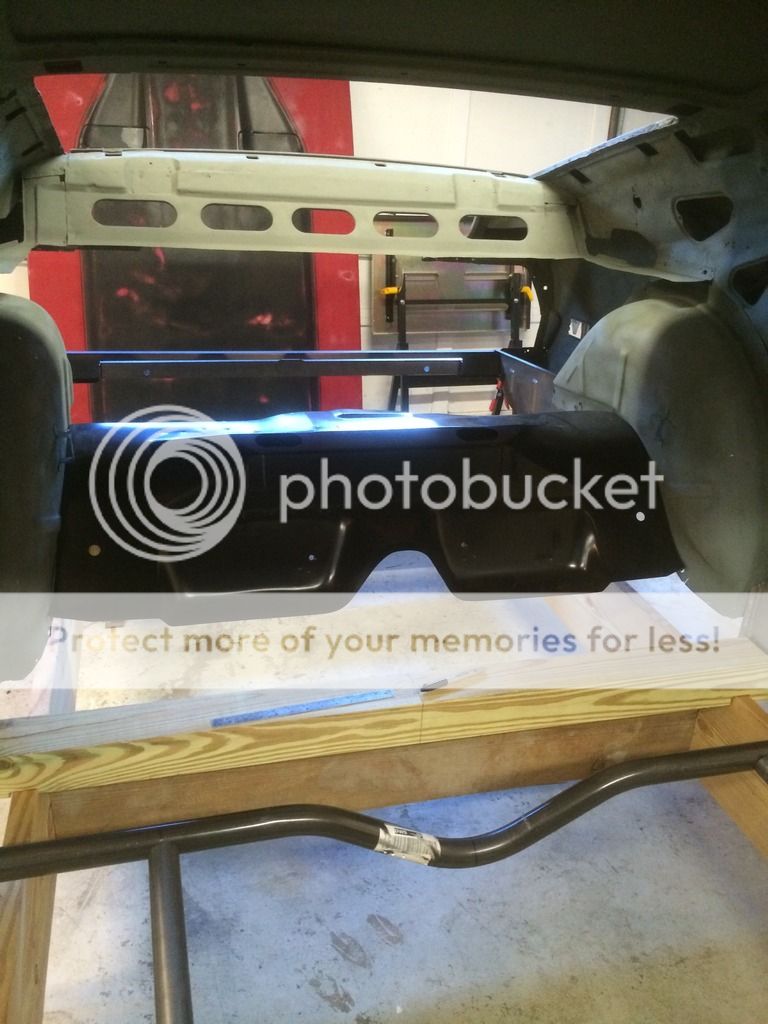
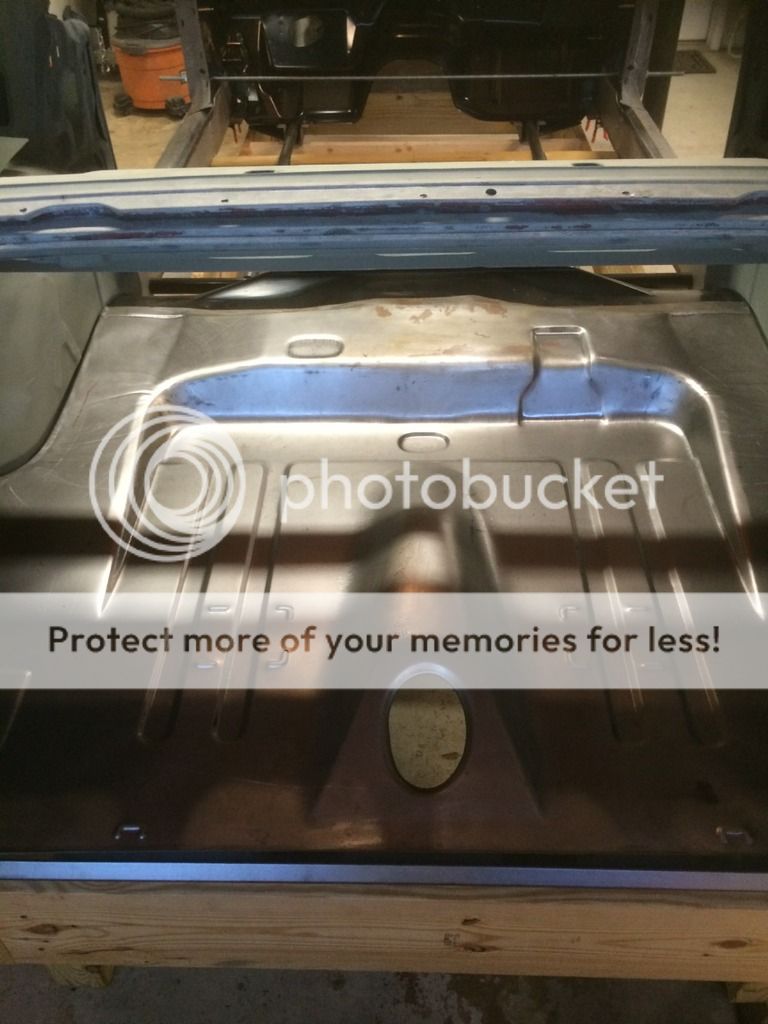
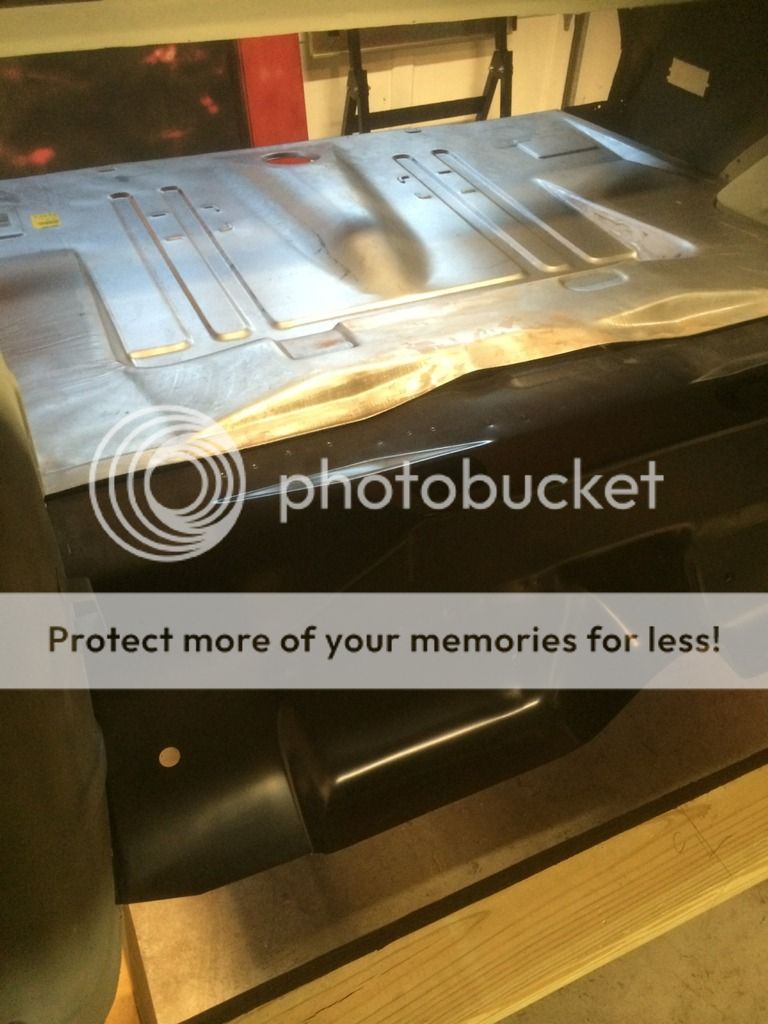
Folks, in pic 141 you can see I do not have the 6" x 6" plates attached to the rocker sill yet, that is because I did not have the rear sheetmetal installed or "mocked up"
The blueprint dimensions that I have are not exactly the same as what the measurement's are when all the metal is assembled... that's why you see the next series of photos showing the trunk area..... In pic 141 the threaded 5/8 rod from pillar to pillar at the front is set where it needs to be so the front end aligns as it should...a lot of you all know this but for those that don't...this is the "old school" way or how to do it in your "home" workshop. 1/4" here and 1/4" there is no big deal when fitting the panels but it is when you are fitting the tubing basically I am putting the whole car together and then taking it all apart again until I am happy with the fit and finish
__________________
__________________ Bill Diehl B200 C/D STK |
|
|
|
|
12-14-2016, 10:54 AM
|
#6 |
|
VIP Member

Join Date: Oct 2008
Location: Somerset,Ky
Posts: 1,380
Likes: 371
Liked 319 Times in 108 Posts
|
Looking good.
Mike Taylor 3601 |
|
|
|
|
02-06-2017, 12:27 PM
|
#7 |
|
VIP Member
Join Date: Feb 2003
Location: Mesa, Arizona
Posts: 3,048
Likes: 712
Liked 1,608 Times in 585 Posts
|
Bill,
Check your private messages. Joe |
|
|
|
 |
| Thread Tools | |
| Display Modes | |
|
|


 Hybrid Mode
